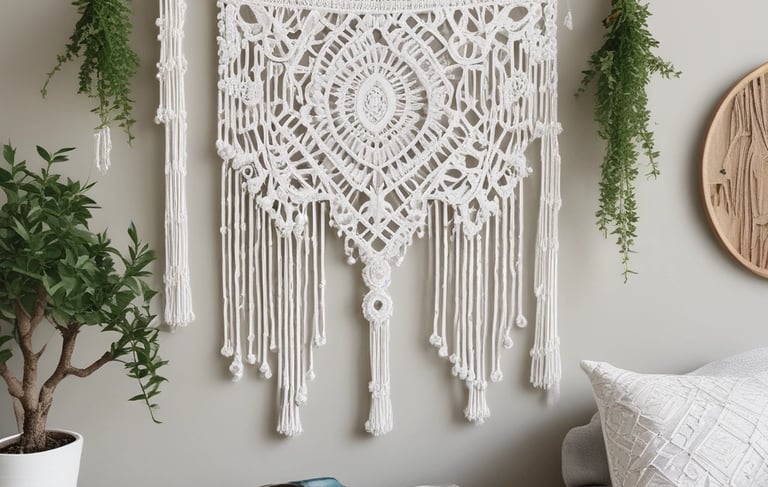
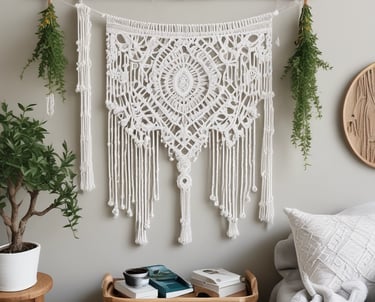
DIY Bohemian macrame wall hanging
This tutorial covers how to make a simple, small boho macrame wall hanging using just two basic knots: the Lark's Head Knot and the Square Knot.
Materials needed
A wooden dowel: About 12 inches (30 cm) wide.
Macrame cord: 4mm, single-strand, in your desired color.
Scissors.
Measuring tape.
Something to hang your project on: A clothing rack, curtain rod, or clipboard stand will work.
Cord cutting guide
The following measurements are for a small wall hanging approximately 12 x 26 inches (30 x 66 cm).
Cut 16 pieces of cord: Each 9 feet (275 cm) long.
Cut 1 piece of cord: About 3–4 feet long for the hanger.
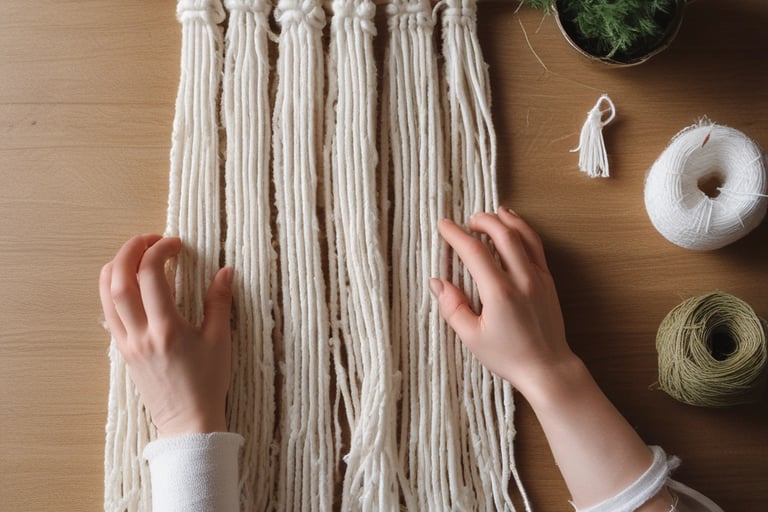
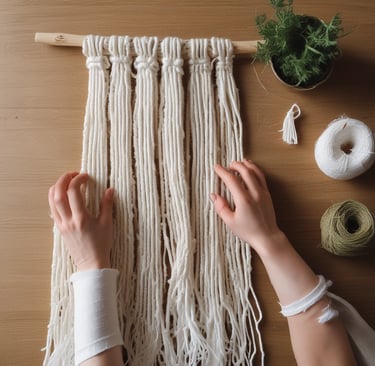
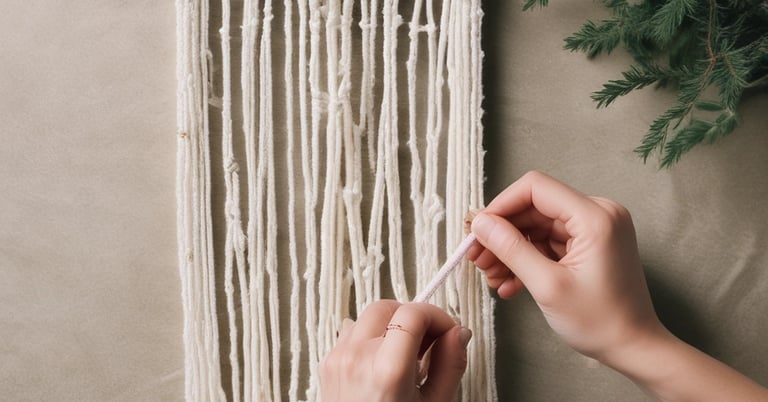
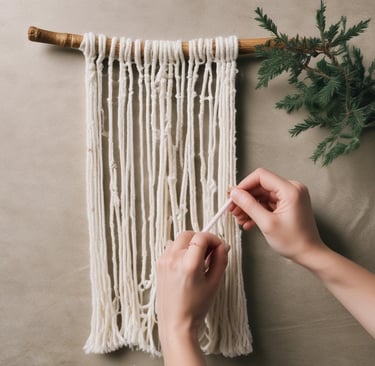
Step 1: Attach the cords with Lark's Head Knots
Fold one of your 9-foot cords in half.
Bring the folded end up and over the top of the wooden dowel, so the loop is pointing down.
Thread the two loose ends of the cord through the loop.
Pull the cords firmly to tighten the knot around the dowel.
Repeat this process until all 16 cords are attached to the dowel.
Slide the knots to evenly space them across the dowel.
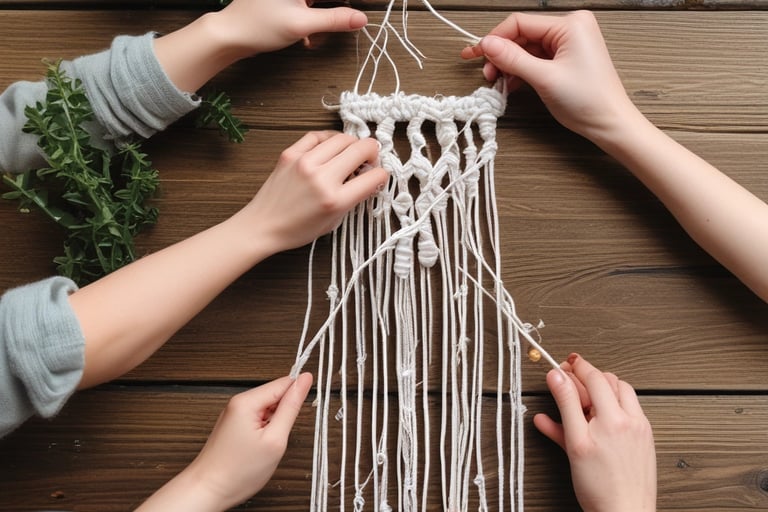
Step 2: Create a row of square knots
A square knot is made with two pairs of cords. You will need four cords to complete one knot.
Take the first four cords on the left side of your project. The two center cords are your "filler" cords, and the two outer cords are your "knotting" cords.
Form a "4" shape with the left knotting cord, placing it over the two filler cords.
Bring the right knotting cord over the tail of the "4".
Tuck the right knotting cord under the two filler cords and up through the loop of the "4". Pull both knotting cords to tighten the first half of the square knot.
Tuck the right knotting cord under the two filler cords and up through the loop of the "4". Pull both knotting cords to tighten the first half of the square knot.
Form a backward "4" shape with the right knotting cord, placing it over the two filler cords.
Bring the left knotting cord over the tail of the backward "4".
Tuck the left knotting cord under the two filler cords and up through the loop of the backward "4". Pull both knotting cords tightly to complete the square knot.
Repeat this process across the entire row.
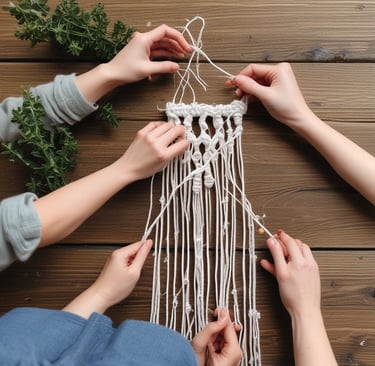
Step 3: Create a staggered row of square knots
Leave the first two cords on the far left hanging freely.
Start your next square knot with the third, fourth, fifth, and sixth cords.
Continue making square knots in this staggered fashion across the row. This will create a mesh-like pattern.
Step 4: Add fringe and finish
Once you are satisfied with your pattern, you can finish the wall hanging.
Use sharp scissors to trim the bottom cords to a straight line or a V-shape, creating a tidy fringe.
For a more textured "boho" look, you can gently unravel the individual plies of the cord at the ends.
Use your 3–4 foot long cord to tie a simple loop on both ends of the dowel for hanging.
Join
Get cozy tips and DIY ideas weekly
Contact
Follow
info@mycottagehaven.com
© 2025. All rights reserved.