Introduction
As winter chills the air, the anticipation for spring gardening begins to stir. For enthusiastic gardeners, the opportunity to start a spring garden indoors is not only exciting but also practical. Utilizing a metal rack system equipped with grow lights, heat mats, starter trays, and domes creates the perfect environment to kickstart your gardening efforts. This comprehensive guide will help you set up your indoor gardening station and even create your own seed starting soil mix.
Setting Up Your Metal Rack System
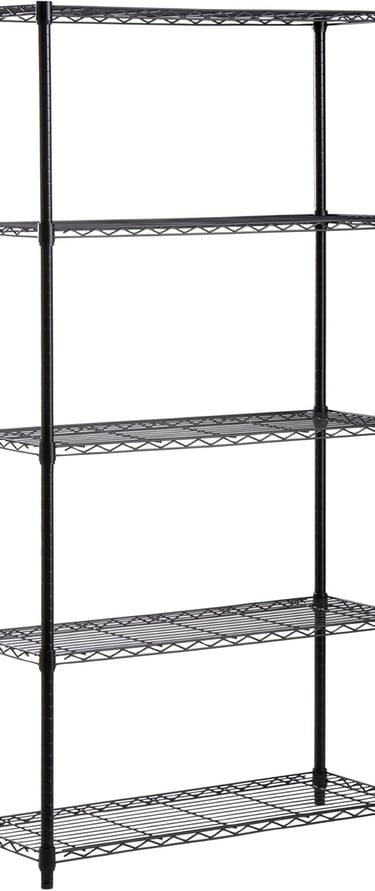
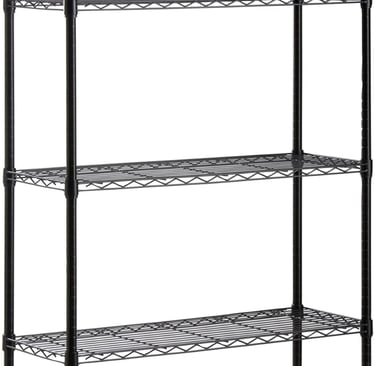
The first step in starting your spring garden indoors involves assembling a reliable metal rack system. This structure not only provides ample space for your plants but also ensures they receive adequate light and warmth. By incorporating grow lights, you can simulate natural sunlight exposure. Schedule the grow lights for around 12 to 16 hours a day to mimic the long days of spring.
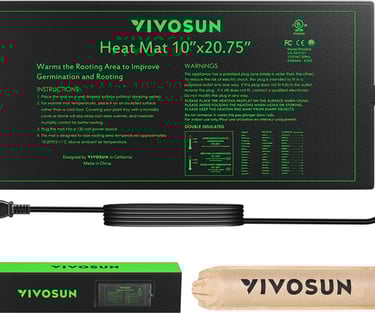
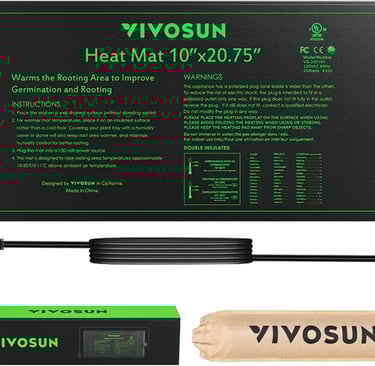
To further enhance the indoor gardening environment, invest in heat mats. These mats will help to maintain the optimal soil temperature, facilitating faster germination and the overall growth of your seedlings. The combination of a metal rack, grow lights, and heat mats can yield healthy seedlings within just a few weeks.
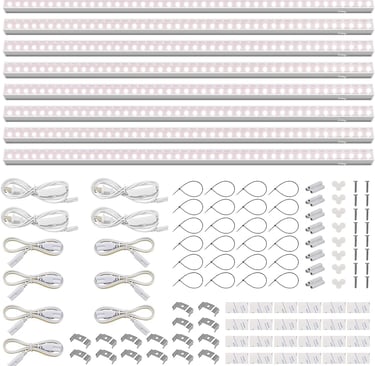
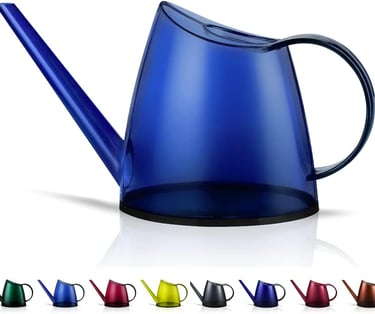
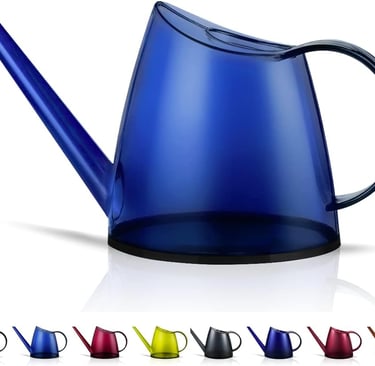
Here are the items I personally use:
Choosing and Preparing Your Starter Trays and Domes
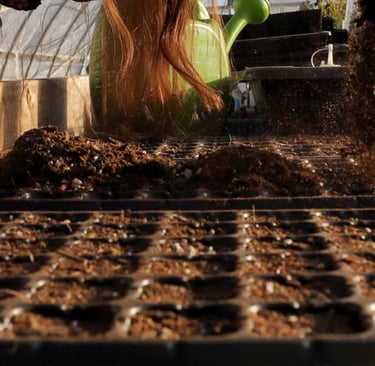
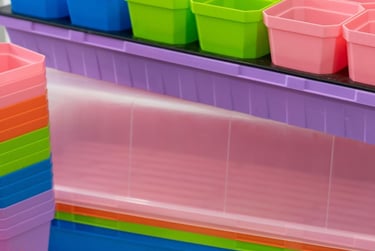
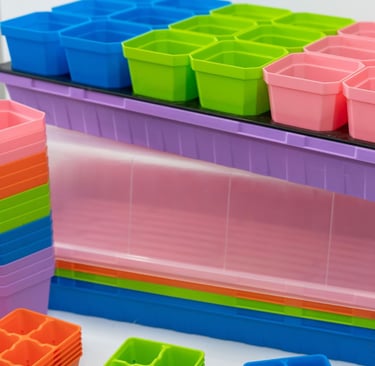
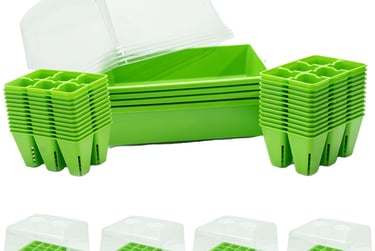
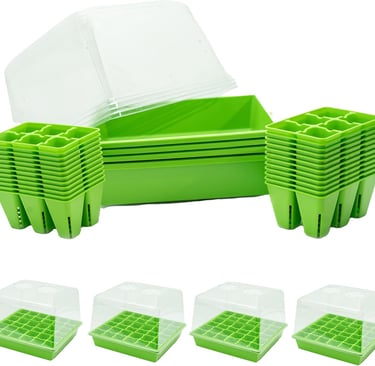
When selecting starter trays or pots, it’s essential to opt for those that have drainage holes. Proper drainage prevents root rot and ensures that seedlings get just the right amount of moisture. Once you have your trays in place, cover them with clear domes. These domes create a greenhouse-like effect by trapping humidity and warmth, vital factors for seed germination. The thing I liked best about the large Bootstrap Farmer bottom trays is that it allows you to bottom water, which is honestly the best way to water precious seedlings so you don't disturb their tender roots.
As the seeds begin to sprout, be attentive to the moisture levels inside the trays. Allow adequate ventilation by periodically removing the domes. This will acclimate your seedlings to the indoor atmosphere, preparing them for their eventual transition to outdoor planting. It is also a good idea to turn a fan, on low speed to help them get stronger and a bit of preporation for winds when they are moved outside.
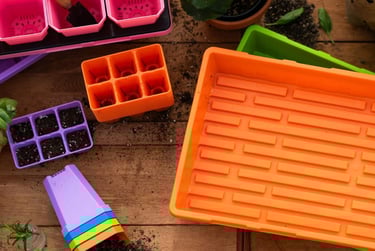
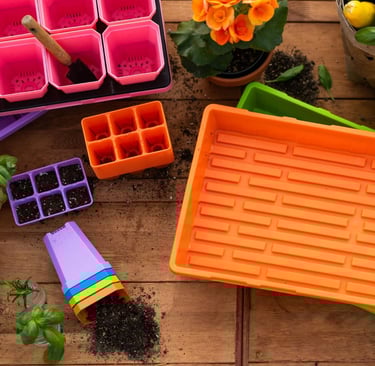
These are my favorite seed starting supplies: Bootstrap Farmers trays, domes and pots are superior quality. Made of super sturdy material for many years of use. Click on the header picture to go directly to Bootstrap Farmers Amazon Store
Bootstrap Farmer starter seed set - full kit
Bootstrap Farmer 1020 Trays w/Humidity Dome Extra Strength, 5 Pack
Bootstrap Farmer Extra Strength Seed Starter Kit, 2 Pack Combo 50 cell plug tray
Creating Your Own Seed Starting Soil Mix
An essential aspect of a successful indoor garden is the quality of the soil. Instead of purchasing pre-made mixes, consider making your own seed starting soil mix. A simple and effective formula can be made using equal parts of vermiculite, perlite, and peat moss. This mixture offers excellent drainage while retaining adequate moisture, fostering an optimal growing environment for your seedlings.
Start by measuring equal parts of each ingredient and mixing them thoroughly in a large container. The vermiculite helps to hold moisture without becoming waterlogged, while the perlite enhances aeration, allowing roots to breathe freely. The peat moss serves as an organic base packed with nutrients, promoting healthy plant growth.
Materials for home made seed starter mix:
Conclusion
Starting your spring garden indoors during winter is an engaging and rewarding endeavor. By setting up a metal rack system, utilizing grow lights, heat mats, starter trays, and creating your own seed starting soil mix, you will ensure the best possible results for your seedlings. With careful planning and effort, you will be well on your way to enjoying a flourishing garden come spring.
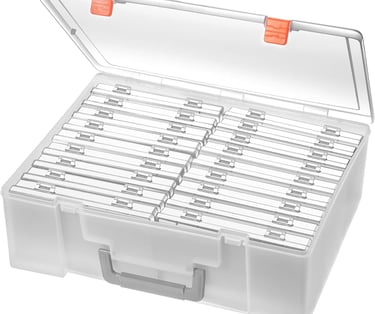
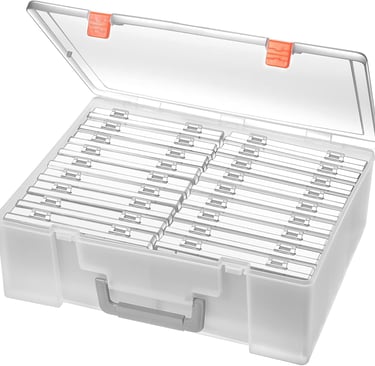
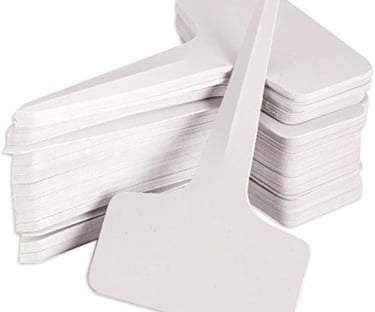
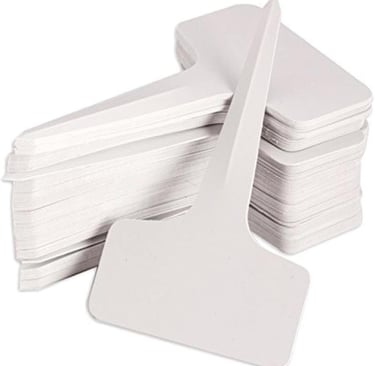
Here are a few bonus items I used that really helped me out!


Join
Get cozy tips and DIY ideas weekly
Contact
Follow
info@mycottagehaven.com
© 2025. All rights reserved.